Sunday, May 31, 2009

Stifkas: Mechana Joint Repair (Part 3)

Hmm...i'm starting to think i shouldn't be playing with the yellow mechana. Here we go again. lol

tonight's broken piece, Leg Joint:
Mech Repair C 001

I applied the same concept i have before with fixing joints.
Mech Repair C 003
Mech Repair C 002

Almost as good as the old busted yellow joint. lol
Mech Repair C 004

Stikfas: Mechana Joint Repair (Part 2)

Just tonight, another joint...well I should say joints broke off. :bangwall:

Mech Repair 003

Seeing that this is different from the hip joint. I need to find a way to retain that point of articulation. So what do i have. Let's see....
I got pliers, some tape, wires, a hand drill (yes...no more screwing lol), and hmm...big paper clips.

After some trial and error with wires and paper clip. I came up with this:
Mech Repair 019

I have to use two pliers to clamp those two pieces of paperclip:
Mech Repair 022


Here's another pic when it's placed on the mechana:
Mech Repair 015

As you can see i have to drill a new hole to that ball to retain that socket.

And here's what i got so far:
Mech Repair 009
Mech Repair 010
[Mech Repair 012

And now with the chest armor:
Mech Repair 013

So far so good. Now time for the other side:
Mech Repair 023

Now he's all fixed again:
Mech Repair 025
Let's just hope we won't see another broken joint for a long time. lol

Stikfas: Mechana Joint Repair (Part 1)

I made this tutorial awhile back to fix broken joint, specifically the yellow mechana from stikfas.

So what ya do when one of your mechana joint broke off? O_o

There's several ways for you to fix/salvage your mechana. For one, you can just use that mechana for bashing/spare parts and buy yourself a new one.  Go to a stkfas chop shop to get a replacement. Or try to find an actual way to fix it yourself, which I did.

Here's several things I did with my Mechana.

First thing that broke from him is the hip joint.

I used the long head antenna and jammed it at the b-nut(waist) of the mechana. I did a little of trimming of the ball joint--It's bigger than the original ball joint.


Then I cleaned and drilled a hole on the body of the mechana:

note: i used a screw driver to drill that hole....i don't have any drills at that time. My hand got numb lol.

I also had fun with that idea:


I made the hole a little to big, I added some tape to the peg. I manage to retain some articulation on the hip, which i'm happy about. No super glue needed ^_^

After which, my mechana is back to normal: :thumbsup:

Stikfas Beta Torso (Sanding)

I'll discuss how I sanded down stikfas female (beta) torso.

beta 008

Materiels I used:
- dinner knife
- nail file (double-sided)
- paintbrush (dusting plastic shavings)

Procedure:
1.) Have something (such as regular paper) to collect the plastic shavings.
2.) Acquire a beta torso

0531090741

3.) We'll use the knife (you can use another serated edge to mark the center guideline) and mark the middle of the torso.

0531090744

4.) Once you have a small indentation in the middle. Use the nail file to sand the middle of the torso.
 5.) Sand the torso in a way that you're sanding the top part of one cleavage, while sanding the lower part of the other, in a "X" direction. 

0531090750

6.) Keep alternating each side, keeping that "X" direction.  

7.) Now sand the bottom section of the torso, just below the cleavage.

0531090824

8.) You may have to keep sanding at the "X" fashion to smooth out the center line with the lower sanded down part.

9.) Also sand the lower section of the outerside of the cleavage, to make it more rounder and uniform in shape.

10.) Dust off the plastic shaving with a brush.

beta 004

Other Thoughts:
~If by chance you want 'em bigger.  You probably have to sculpt (clay) and attach it. lol.

Friday, May 29, 2009

Bunnies (Coin Bank)

Bunnies 019

I started making 'em 2 weeks ago. Finally got 'em last wednesday. I made three for the fear that I won't be able to recreate my sculptures. It is usually that way with my other ceramic piece such as my fish and turtle. I really like how they turn out. Cute and simple. hehe.

What did you use?
- I use sandstone clay. I inflated a water balloon with air to a desired size. Wrap it around with 1/4" slab clay. (1/8" is better but trickier as well--too thin) Sculpted and scored the ears, nose, feet and tail. I cut a slit on top for the coin bank. And for each, I added something unique such as the carrot clips and flower. As for the glazes, I coated each with clear glaze. I used dynasty red for the nose and mandarin orange for the carrot. I think i used forrest green for the leafy part of the carrot. As for the eyes, I painted 'em with acrylic paint using a toothpick.

Who's getting 'em?
The big one in the middle will probably go to my sister. I owe her one. The last bunny sculpture, eye glass holder wasn't up to par. hehe. The two other small ones will be given as gift to my classmates who have been nice to me.

Other thoughts?
Might give it another try to make another batch of these when ceramic class starts again. Maybe give them an eyebrow and other fancy decoration. We'll see....

Friday, May 22, 2009

Drenom

Here's my latest Stikfas Custom: Drenom

Meads Symbiote with tongue 001.jpg

How'd ya come up with the name?
~I wanted to make a 2 symbiote 1 host custom. I'm actually making it for SM, who likes venom. So that leaves me to come up with another one. I actually started with a dragon-like with armor symbiote on the right side.

Drenom

Hence, the name Drenom.

Why is there a plant-like symbiote now?
~The dragon is a big "if" to make. Doesn't really seem to fit the whole thing. After watching Star Trek (2009) movie, the part where kirk is being chased by an alien. The alien's mouth reminded me of tremors. And from that, I thought a carnivorous plant would fit the custom better. I'm happy it did.

How'd you make it?
~You can check my WIP here

Other Thoughts...
~ I really like how it turned out. I was experimenting with the fishing line so simulate fiber-like network of venom to reanimate the decayed left side. The metallic wash really worked well in my opinion. Thanks for Benjamin (and Zi for that details) with that suggestion. I'm also happy with the use of paperclip for the teeth. Turned out well also. One thing I found missing, which kinda sticks out to my critics, is the lack of sanding of the sculpt before painting. I for one don't have sandpaper, lazy to get one. I use my box cutter to trim off the surface a bit. But i'm going for texture and irregularities of the symbiotes that why i didn't go for further sanding. Well hopefully i'll find some soon for my custom.

Thursday, May 21, 2009

Stikfas Sign

While looking for cool stuff online, I stumbled upon a cool toy at thinkgeek. They have this articulated toy, much like stifkas, with a yellow triangle sign in the background. Well here's my take on that,

Stikfas Sign 001

Quite cool, i think and hilarious. It's like the sign says "Watch out for crazy stikfas". I should have it hold a knife. haha.

Crazy Go Kart

Here's my current drawing,

Go Kart

(Btw...I have several flickr accounts, too cheap to pay for uploading more than 200+ haha)

In pic you'll see an Alpha (stikfas regular male figure), a bear (stikfas fig) and slurmy (a creation by Zook).

I just recently finished a stikfas custom, and I have another idea for the next one. But usually, I take breaks and fiddle around with them. I thought how cool it be to have 'em in mini-carts sorta like mario-kart. haha. I could make 'em out of Lego pieces, but we'll see.

Ohh here's another sketch of Slurmy

Slurmy

SM (hobbicide member) was talking about his rock band customs the other day. I wanted to draw slurmy and decided to go with that theme. Turned out great. hehe. Might draw the rest of the band later on.

The Beginning

Let's see...  I'll be sharing my crafts and so called "artwork" here.

But first.  A little introduction...  I guess you can still call me a student.  Haven't really entered the workforce, which is hard to get into these days.  I recently, a little over a year now, focused more into making crafts, arts, and other "random stuff" that some might find interesting while others find waste of time.  Speaking of which, I used to be a hardcore gamer (MMORPG) and time sure flies with that.  Maybe I'll talk about my gaming days for another time.  I manage to get myself out of that addiction, a bit late but I'm happy I did.

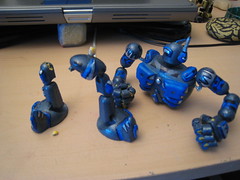
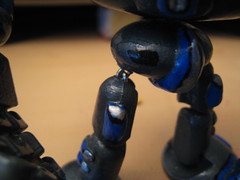
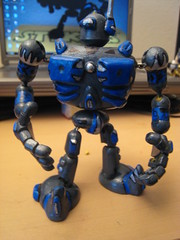
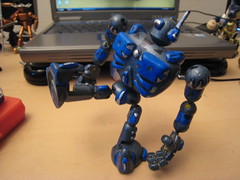
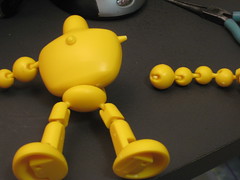
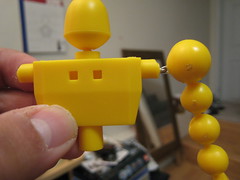
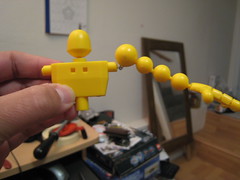
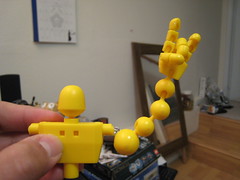
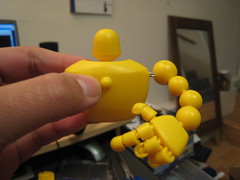
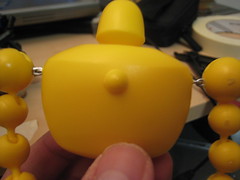
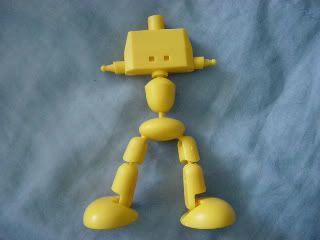
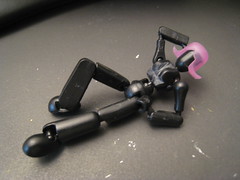
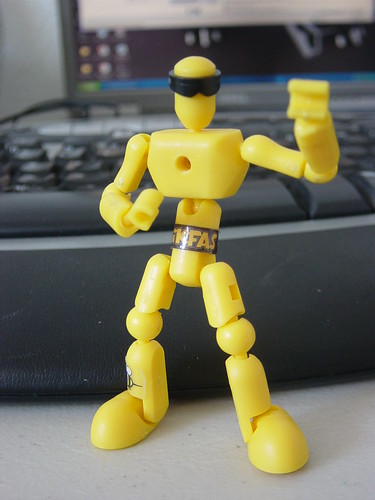
So back on how I started crafting and pulled myself out of gaming.  One day, I found myself looking at these small figures "Stikfas",about 3" tall.  At first glance, they're like a child's toy which probably discourage me the first time I saw it.  But something click inside me, what if there are more than just regular toys.  Apparently there's a bunch of things you can do with 'em-assemble, pose, mix, and the best part 'customize'.  But what grab my attention is the variety and the poses you can do with 'em.  Plus, the figures aren't that expensive, well unless you start hoarding them which I ended up doing. haha.


Like most curious toy enthusiast, I searched online for news, stuff, and other things you can do with 'em.  Found this clip of stop animation by Errol, The Fight. Well that clip pretty much sold me into getting a few of 'em.  Who wouldn't want to animate like that? hehe.  Well little did I know, animating is "mind-numbing" as Errol pointed out.  Nonetheless, I found other ways to play with my new found hobby, stikfas.

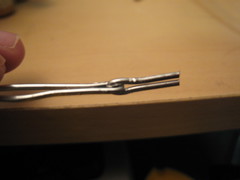
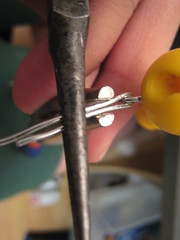
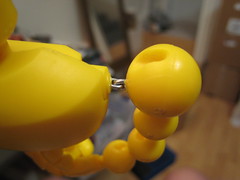
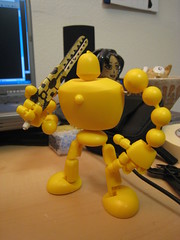
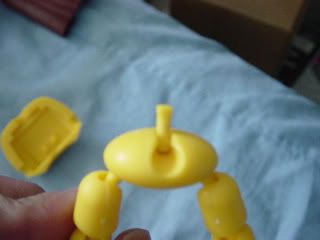
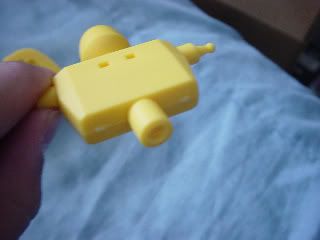
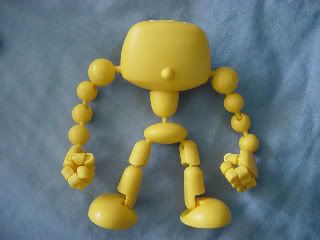
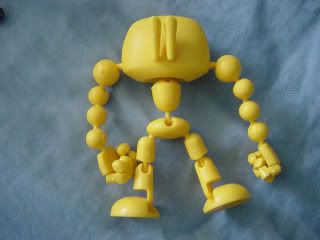
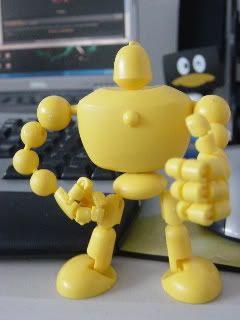
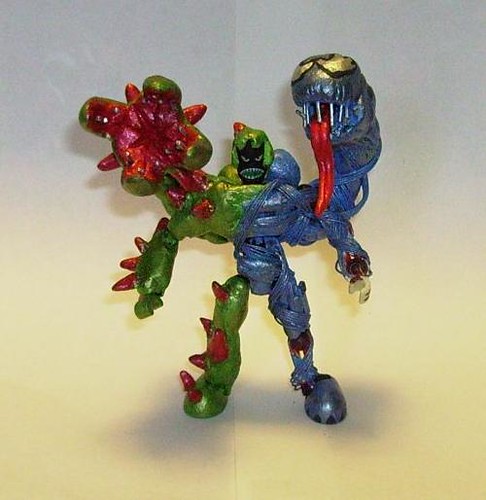
I ended up making custom stikfas.  What's this "customizing"? I view stikfas as a blank slate, as most customizers do.  It's like a "Do It Yourself" (DIY) project.  Make it whatever you want, which fits in to what I have been doing ever since, make toys.  (I use to make toys from scrap when I was little. hehe)  With that, I found a couple of stikfas forum online, one of which is Stikfanatics and the other Hobbicide.  Found some knowledgeable and talented customizers.  They know who they are. hehe.

XW-IIPiggy and BowlLiger Foam Art (looks like Starfox logo)DSC00173
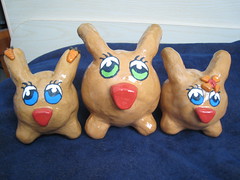
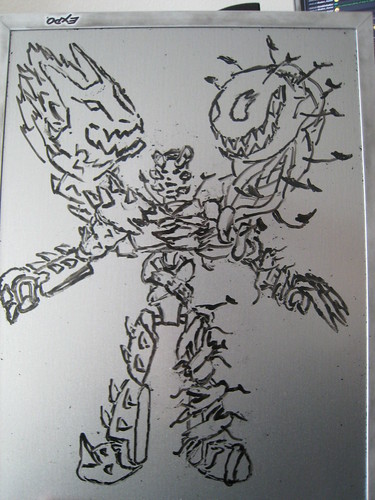
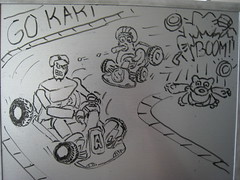
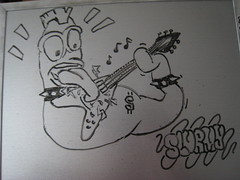
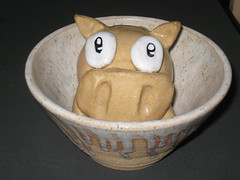
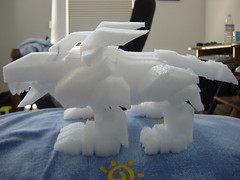
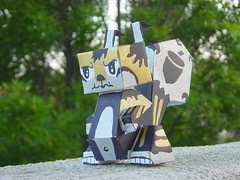
But aside from stikfas I also sculpt in ceramics, sketch drawings, and dab a little in papercraft.  I really enjoyed my ceramic class in highschool.  Luckily after college, my teacher still host an evening class for adults.  I made a couple of coinbanks, sculptures, pots and others which you'll see as the days progress.  (I might post the previous ones i made too)  I also like to draw, though I'm still getting the hang of it.  As for papercraft, I used to download templates and make 'em.  But lately i just switch my focus on making stuff in ceramics and stifkas.  Almost forgot, i also have an on-going origami project which you see in my profile pic.

I think that's a good introduction, I hope. lol.  Well hopefully you'll know me more on my work.